
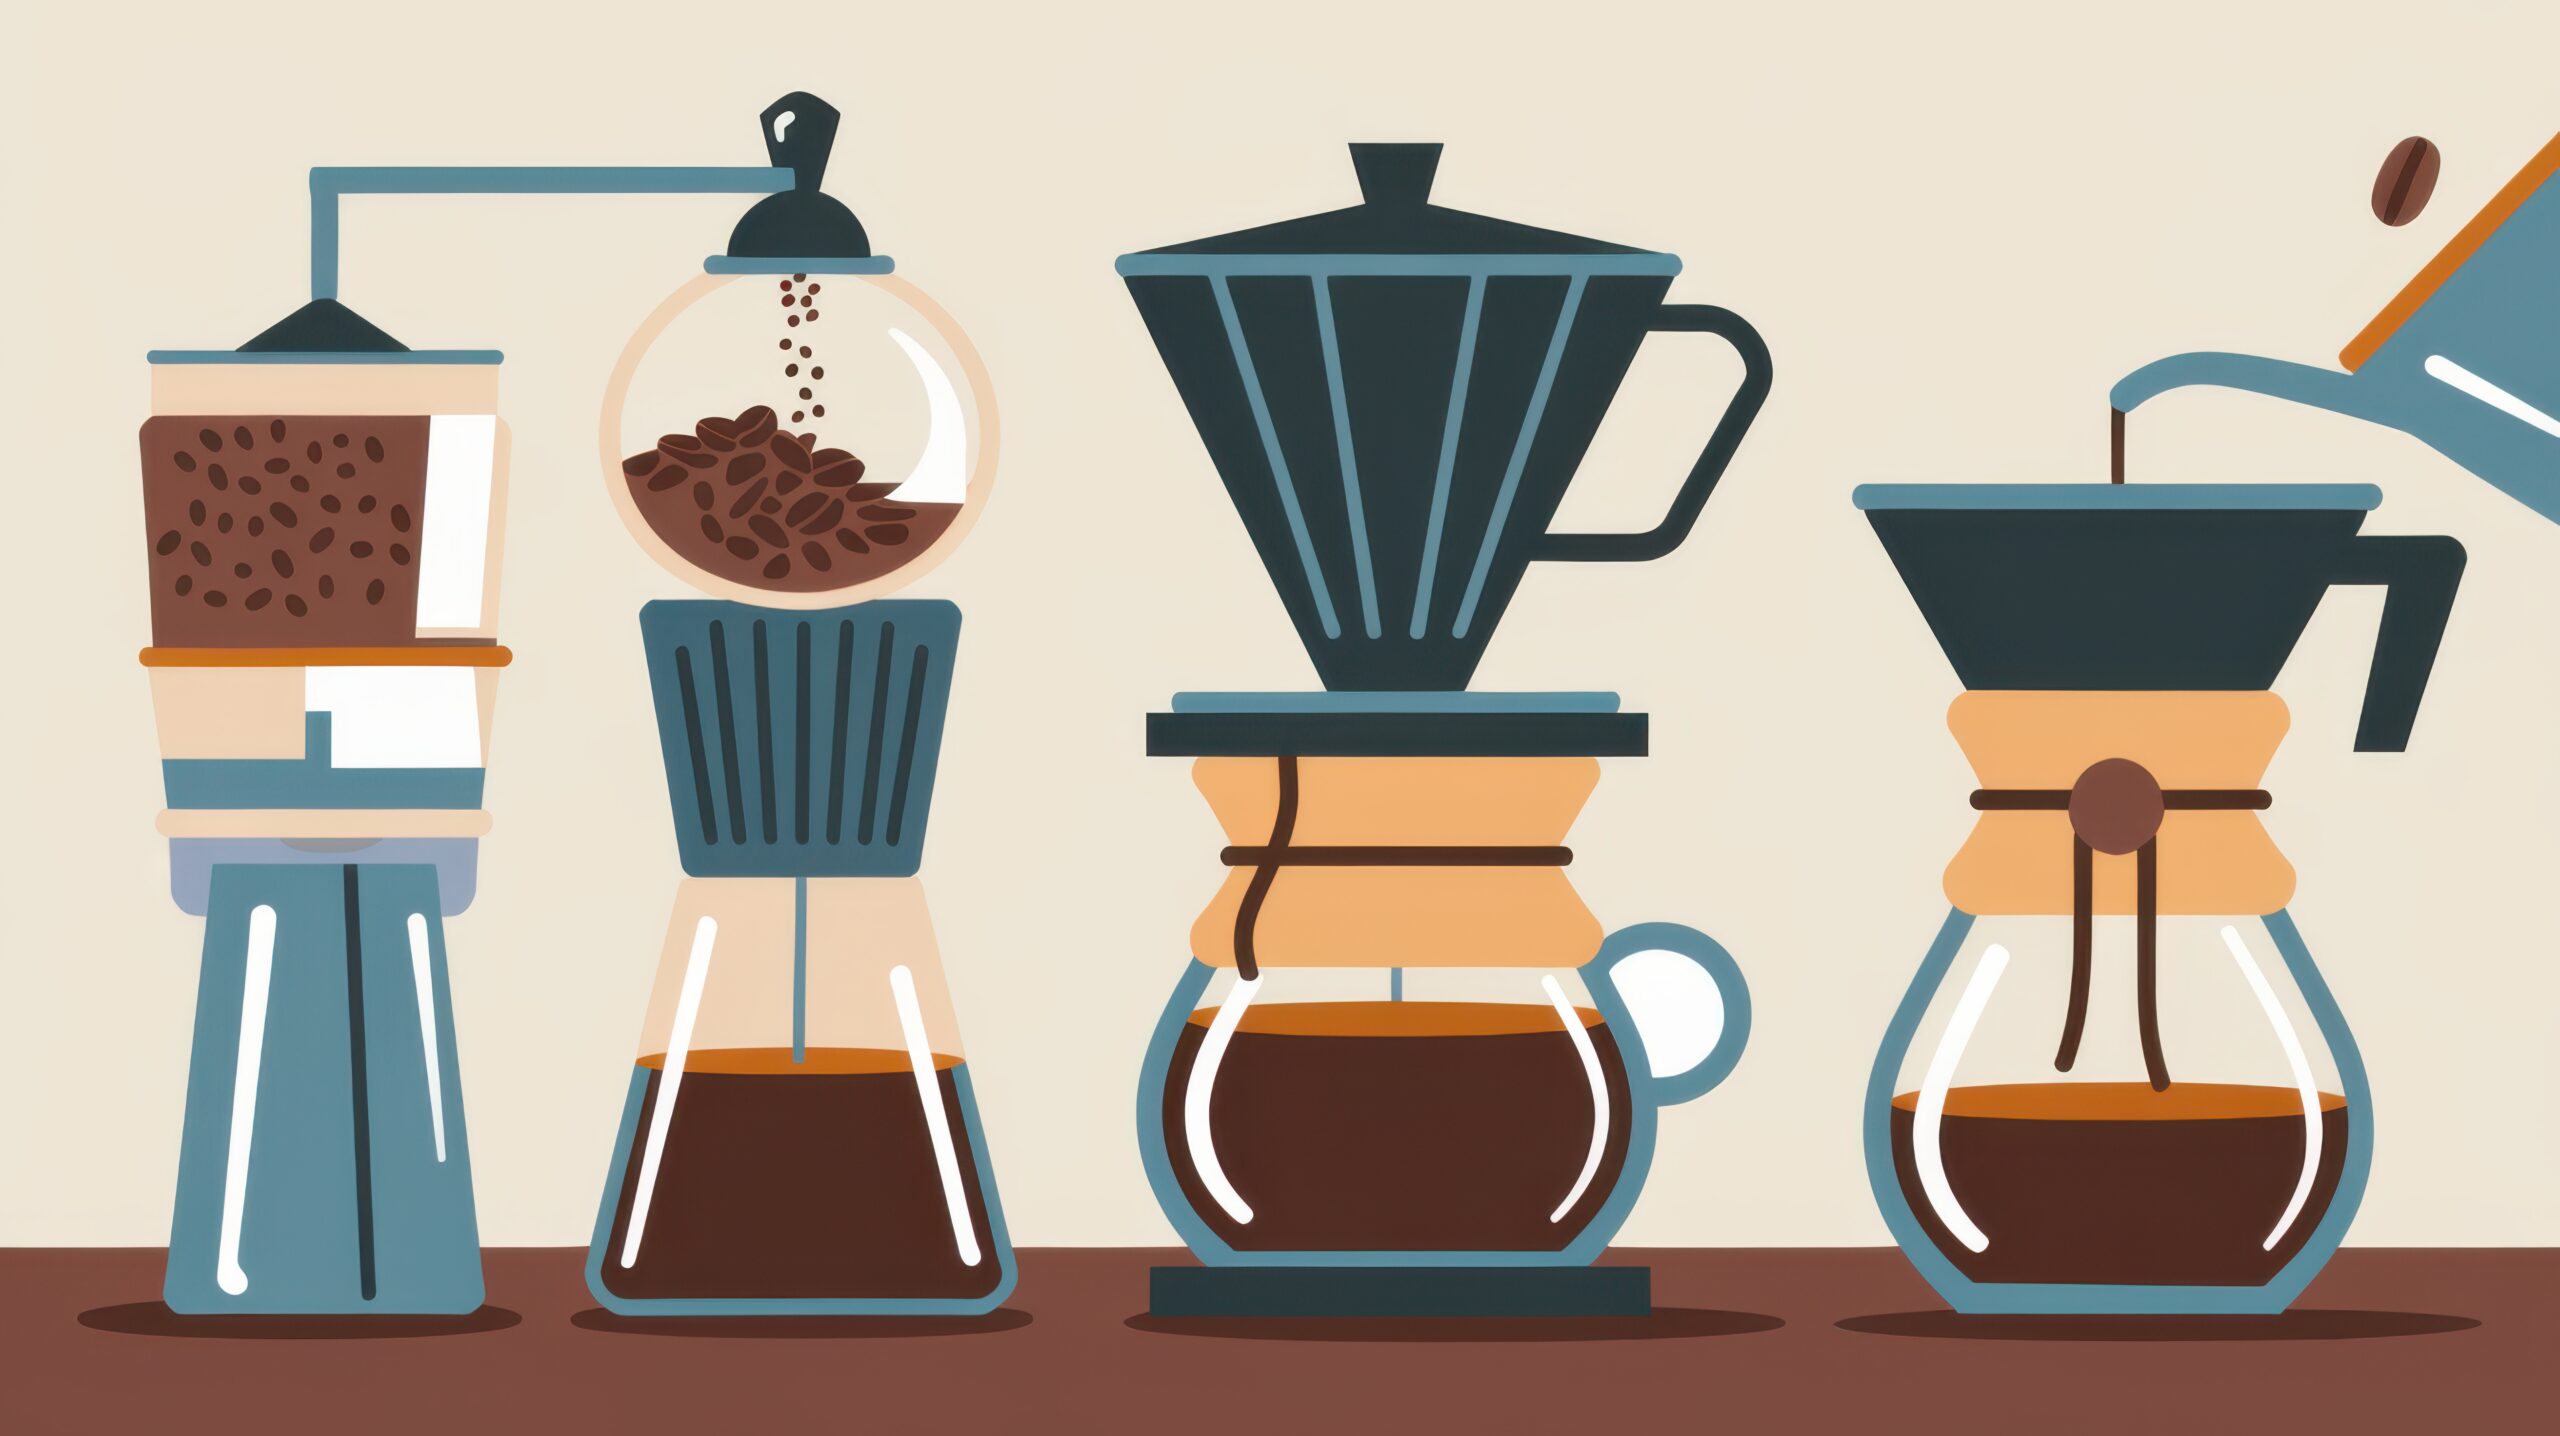
Hi, I am Aditya, The Youngest Roaster.
I am still small, but coffee makes me very curious. Like watching coffee beans turn into a cup that smells warm, sweet, and happy. I do not drink big cups like adults. I mostly smell, learn, brew, and taste tiny sips with my family around me.
Coffee looks simple from the outside. Beans, water, cup, done.
But when I started learning, I found out that every small step matters. The beans matter—the grind matters. The water matters. Even the way we pour water can change the taste.
So today, I want to share my simple step-by-step guide to brewing better coffee at home.
This is not a big expert guide with difficult words. This is how I understand coffee as a young brewer.
Step 1: Start With Good Coffee Beans
Good coffee starts before we touch the kettle.
It starts with the beans. When I see coffee beans, I first look at them and smell them. Fresh beans smell lively. They smell like chocolate. Sometimes they smell fruity. Sometimes they smell nutty. Old beans smell flat, and the cup also tastes flat.
If you want better coffee at home, try to use freshly roasted coffee beans. Also, do not keep them open for too long. Coffee beans do not like air, heat, sunlight, or moisture.
I always feel coffee beans are like tiny treasure pieces. If we take care of them, they give us a better cup.
Keep them in an airtight container. Keep the container in a cool and dry place. Do not keep coffee near the stove because heat can spoil the flavour.
Step 2: Grind The Coffee Just Before Brewing
This step changed a lot for me.
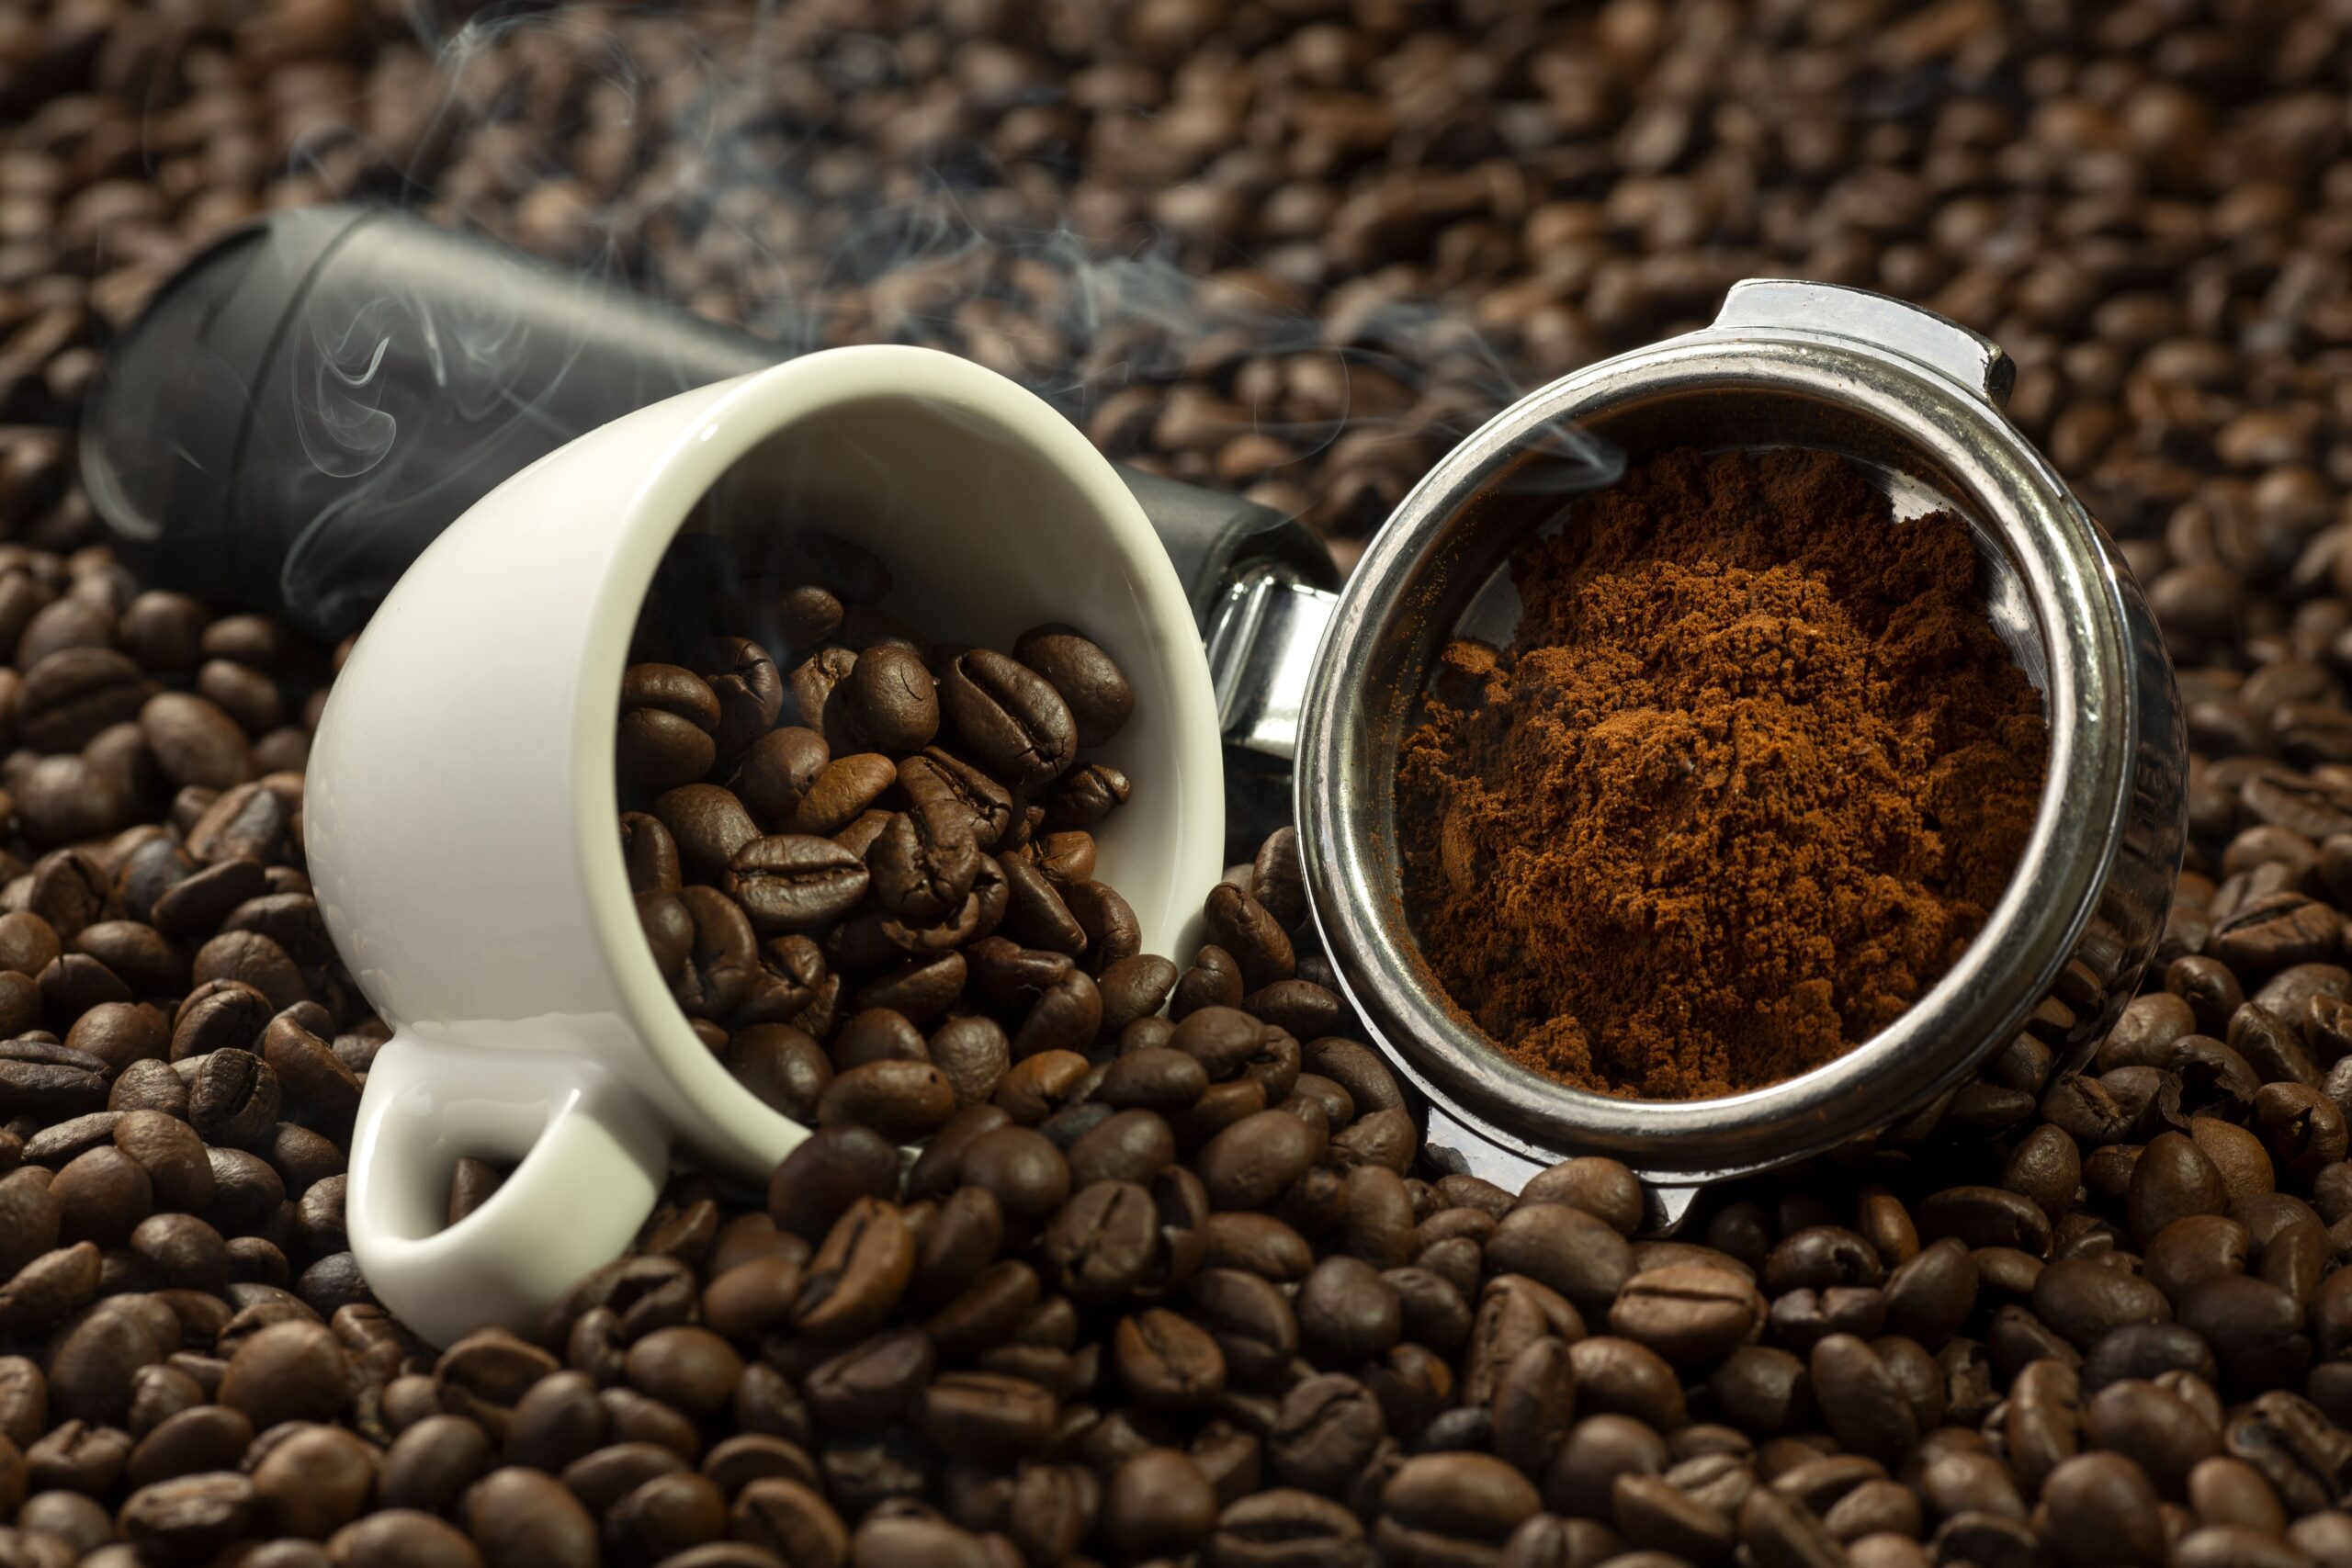
Earlier, I thought ground coffee and whole beans were almost the same. Then I learned that coffee starts losing aroma after grinding. That means if we grind it too early, many nice smells can go away.
So, if possible, grind your beans just before brewing.
The grind size also matters.
If the coffee is too fine, the water may pull out too much flavour. Then the cup can taste bitter. If the coffee is too coarse, the water may pass too quickly. Then the cup can taste weak or sour.
For a pour-over, I like a medium grind. It looks a little like sand, but not too powdery. For French press, the grind should be coarser. For espresso, the grind is much finer.
This is why I feel the grinder is like a small coffee tool with a big job.
Step 3: Use The Right Amount Of Coffee And Water
This is where many people guess.
But coffee becomes better when we measure.
I like using a simple ratio. A common starting point is 1 part coffee to 15 or 16 parts water. That means if you use 15 grams of coffee, you can use around 225 to 240 grams of water.
It does not have to be perfect every time. But measuring helps you understand what happened in the cup.
If the coffee tastes too strong, you can use a little more water next time. If it tastes too light, you can use a little more coffee or grind slightly finer.
Brewing coffee is like learning a small science experiment. You change one thing, then taste what happens.
That is the fun part.
Step 4: Use Clean And Fresh Water
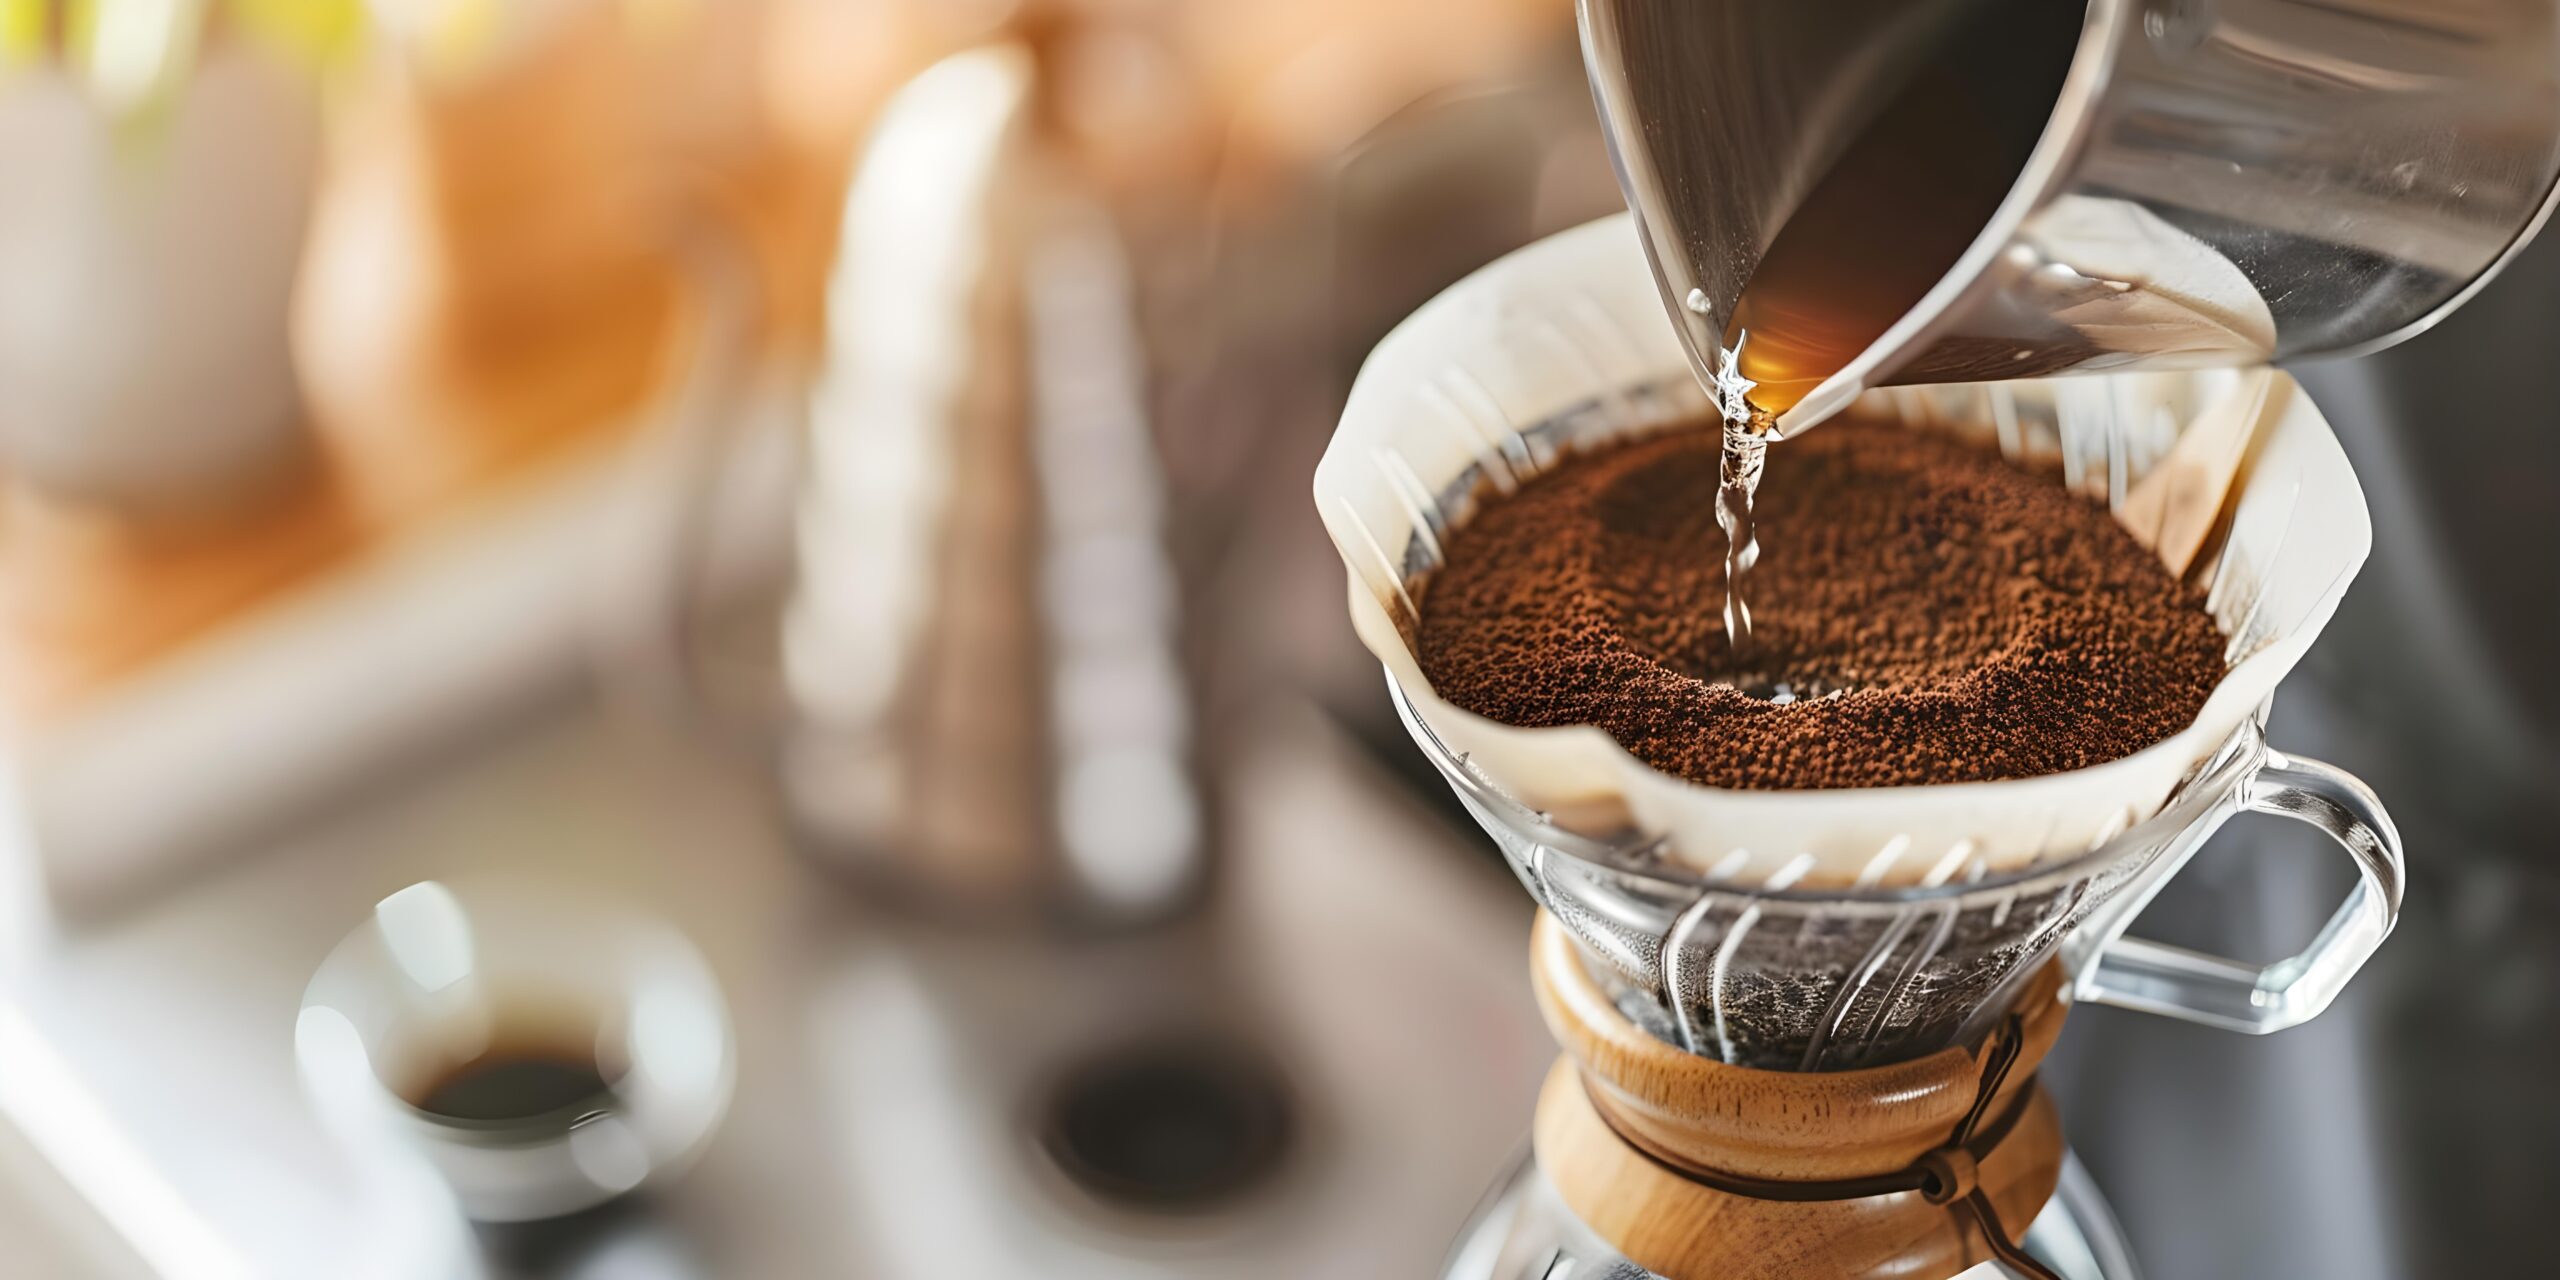
Water is a big part of coffee. A cup of brewed coffee is mostly water. So, if the water tastes strange, the coffee can also taste strange.
Use clean, fresh water. Do not use water that has been sitting in the kettle for too long. Fresh water makes the cup taste cleaner.
The temperature also matters. If the water is too hot, it can make coffee bitter. If the water is not hot enough, it may not take out enough flavour from the coffee.
For most home brewing, water just off the boil works well. I wait a little after boiling before pouring. Adults can help with this because hot water is not something kids should handle alone.
Coffee is fun, but safety comes first.
Step 5: Warm The Brewer And Rinse The Filter
This step looks small, but it helps.
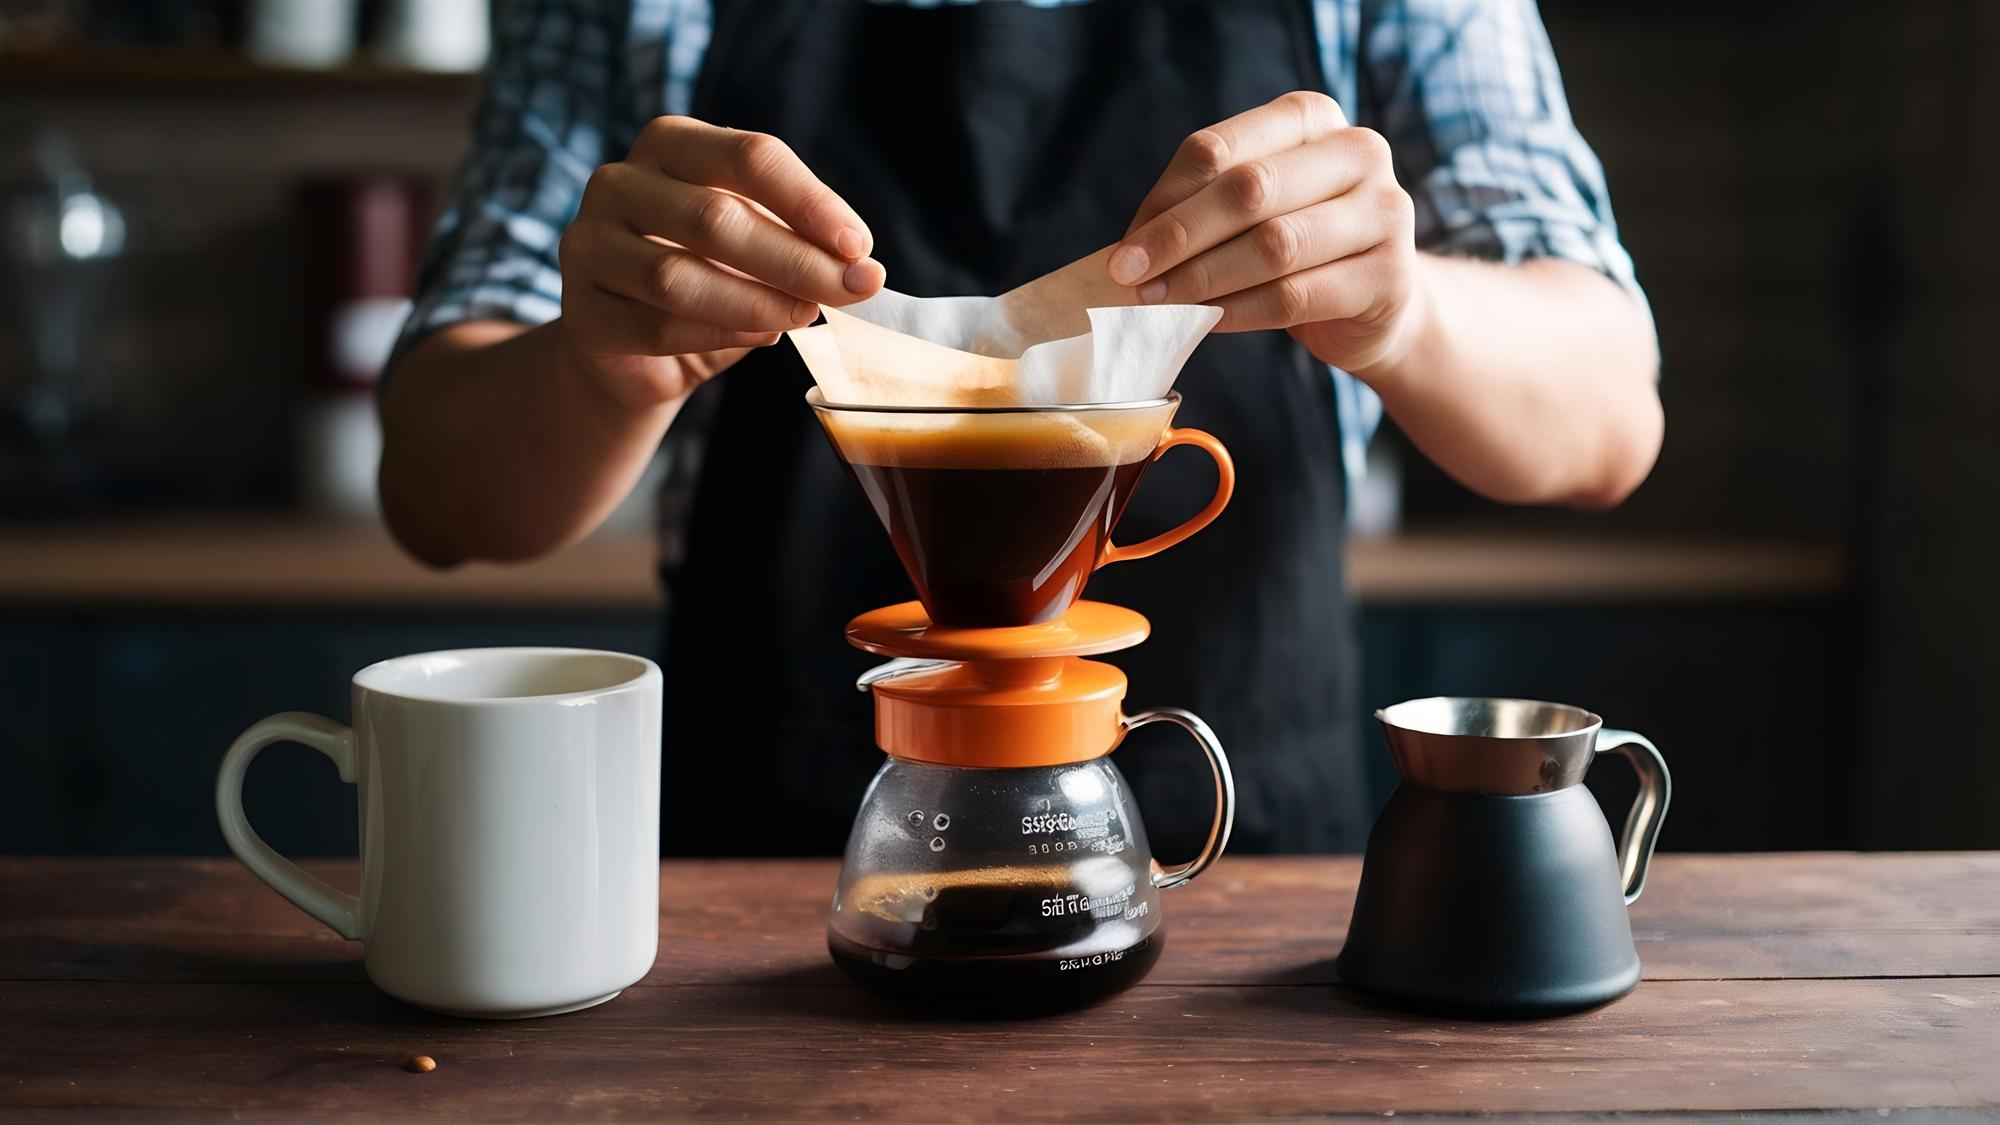
If you are using a paper filter, rinse it with hot water first. This removes the papery taste. It also warms the dripper or brewer.
Then throw that rinse water away before adding coffee.
When the brewer is warm, the coffee temperature stays more stable. This helps the coffee brew better.
I like this step because it feels like preparing the stage before the coffee show begins.
Step 6: Add Coffee And Make The Bed Flat
After rinsing the filter, add the ground coffee.
Then gently shake the brewer so the coffee bed becomes flat.
A flat coffee bed helps water move evenly through the grounds. If one side has more coffee and one side has less, water may not pass properly. Some coffee can get over-brewed, and some can stay under-brewed.
I learned that coffee likes balance.
A flat bed is a small way to give coffee balance before pouring.
Step 7: Let The Coffee Bloom
The bloom is one of my favourite parts.
When hot water touches fresh coffee, the coffee puffs up a little. Bubbles come out. The smell becomes stronger.
This happens because roasted coffee has gas inside it. Blooming lets that gas escape before the main brew.
To bloom, pour a small amount of hot water over the coffee. Use about twice the weight of the coffee. So, if you use 15 grams of coffee, pour around 30 grams of water first.
Then wait for about 30 to 45 seconds.
I always think the bloom looks like the coffee is waking up.
Step 8: Pour Slowly And Gently
After the bloom, pour the rest of the water slowly. Do not rush.
Try to pour in circles, starting near the centre and moving outward. Do not pour too much on the paper filter. Try to keep the water on the coffee.
A gentle pour helps water touch all the coffee grounds evenly.
If you pour too fast, the water may run through quickly. If you pour too slowly, the coffee may become heavy or bitter.
This is why brewing teaches patience.
I like watching the water go down slowly. It feels peaceful.
Step 9: Watch The Brew Time
Time is another clue. For a pour-over, the total brew time often sits around 2.5 to 4 minutes. It depends on the brewer, grind size, coffee amount, and pouring style.
If your coffee finishes too fast, the grind may be too coarse. The cup may taste thin or sour.
If it takes too long, the grind may be too fine. The cup may taste bitter or dry.
Time is not the only rule, but it helps you understand the cup.
Coffee gives clues. We have to listen.

Step 10: Taste Before You Judge
This is an important step.
Do not judge coffee only by the first hot sip. Very hot coffee can hide flavours. Let it cool a little. Then taste again.
Ask simple questions.
- Does it taste sweet?
- Does it taste bitter?
- Does it taste sour?
- Does it feel too light?
- Does it feel too heavy?
When I taste coffee, I do not always know the perfect words. Sometimes I say, “This tastes like chocolate,” or “This feels too sharp,” or “This one smells better than it tastes.”
That is okay.
Tasting is also learning.
Step 11: Change Only One Thing At A Time
This is something I learned slowly. If your coffee does not taste right, do not change everything at once. Change one thing.
Maybe change the grind size. Change the water amount. Maybe change the brew time. Maybe pour slower.
But change only one thing, then taste again.
If we change too many things together, we cannot know what fixed the cup.
This makes brewing easier. It also makes us better learners.
Step 12: Clean Your Coffee Tools
Clean tools make better coffee. Old coffee oils can stay on grinders, brewers, jars, and cups. These oils can turn stale and make fresh coffee taste bad.
After brewing, throw away the used grounds. Rinse the brewer. Wash the cup. Keep the grinder clean.
This step may not feel exciting, but it matters.
A clean setup helps the next cup taste fresh.
My Simple Home Brewing Checklist
Before I brew, I like to remember these points:
- Use fresh coffee beans.
- Grind just before brewing.
- Measure coffee and water.
- Use clean water.
- Rinse the paper filter.
- Make the coffee bed flat.
- Bloom the coffee first.
- Pour slowly.
- Watch the brew time.
- Taste after it cools a little.
- Change only one thing next time.
- Clean everything after brewing.
This checklist helps me feel calm while brewing. It also helps me not forget the small steps.
What I Learned From Brewing Coffee At Home
Brewing coffee at home is not only about making a drink.
It teaches focus, patience and care.
When I brew, I feel like I am talking to the coffee. The coffee tells me what I did right and what I need to improve.
Sometimes the cup is very good. Sometimes it is not. But even a bad cup teaches something.
That is why I like coffee so much.
Every bean has a story. Brew has a lesson. Every cup gives me one more chance to learn.
So, if you want to brew better coffee at home, start simple. Do not worry about being perfect. Use good beans, clean water, the right grind, and a little patience.
Your coffee will slowly get better.
And you will also start noticing more things.
The smell. The bubbles. The colour. The taste. The silence while pouring.
That is the beautiful part of coffee.
It makes us slow down and enjoy a small moment.